
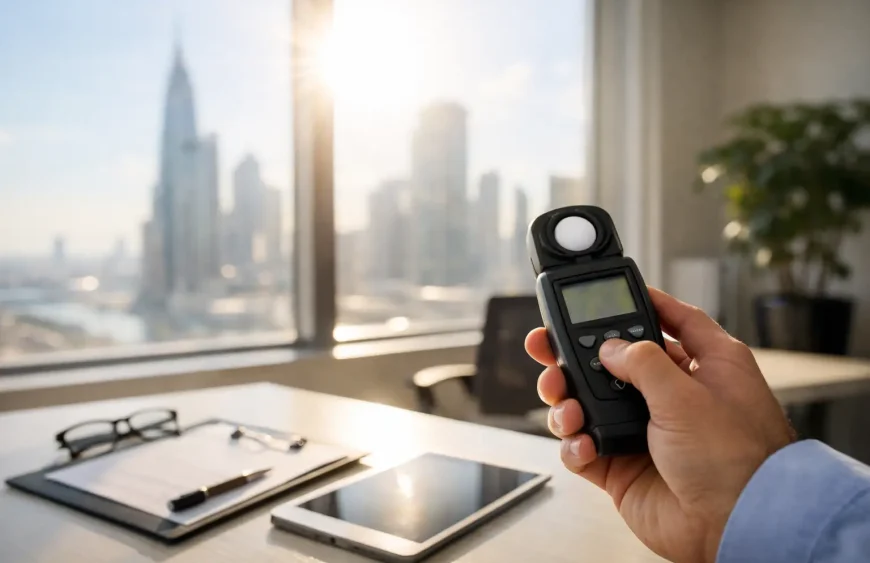
A bright Dubai view can be a real asset until the same window turns a laptop screen into a mirror, washes out a television, or makes a drive uncomfortable at certain hours. Knowing how to measure window glare helps separate a minor positioning issue from a glass-performance problem – and gives you a clearer basis for choosing blinds, window film, or another solution.
Glare is not simply “too much sunlight.” It is excessive brightness within your field of vision, especially when there is a large contrast between a sunlit window and the task in front of you. A room can feel cool enough and still be difficult to work in because daylight is reaching the eye from the wrong direction.
Start by identifying the type of glare
Before using a meter or comparing films, document when and where the discomfort occurs. Direct glare is sunlight shining straight toward the occupant, often through east- or west-facing glass in the morning or late afternoon. Reflected glare is light bouncing from glass towers, water, pale paving, neighboring façades, glossy floors, or a vehicle dashboard.
There is also screen glare. This is common in offices in Business Bay, DIFC, and Dubai Marina, where the window may not look exceptionally bright until a monitor is switched on. The screen reflects the window or the bright sky, forcing the user to tilt their head, close blinds, or increase screen brightness.
For a useful first record, check the space at the times people actually use it. A villa living room may be comfortable at noon yet unpleasant between 3:30 and 5:30 p.m. A yacht cabin may have a different issue depending on its mooring direction and the water reflection. For a vehicle, note whether glare appears through the windshield, side glass, rear glass, or from interior reflections.
Take photos from the seated or driving position, not only while standing by the window. Include the screen, television, work surface, or view that is affected. This gives an installer or property manager more useful information than a general statement that a room is “too sunny.”
How to measure window glare with practical checks
A professional glare assessment considers orientation, glass size, neighboring reflectance, interior finishes, and the occupant’s sightline. You can make a strong initial assessment without specialist software by combining three checks: visual contrast, task visibility, and light readings.
Check visual contrast from the user’s position
Sit where the problem occurs and look at the task, then toward the window. If you must squint, shield your eyes, turn away, or wait for your vision to readjust after looking outside, the contrast is likely too high for that activity.
Pay close attention to bright patches in the field of view. A small, intense reflection can create more discomfort than a whole wall of evenly lit glass. In a home office, for example, the important question is not whether daylight enters the room. It is whether the window, reflected sun, or a glossy surface is visibly competing with the monitor.
This check is subjective, but it matters. Occupant comfort is the reason to address glare in the first place. Record the date, time, weather, blind position, and which lights were on, because conditions can change the result.
Measure illuminance on the task surface
A handheld lux meter measures illuminance – the amount of light falling onto a surface. It does not measure glare directly, but it helps show whether a desk, countertop, or seating area receives unusually high light levels.
Place the meter flat on the work surface at the point where someone reads, writes, or uses a laptop. Take readings with blinds open and, if applicable, with blinds closed. Repeat at different times of day. Then measure a similar point farther from the window for comparison.
A very high desk reading near the glass can support the case for solar-control film, but numbers need context. A bright work surface may be acceptable if the window is outside the worker’s view and the monitor is positioned correctly. Conversely, a moderate reading can still feel uncomfortable when the bright source is directly behind a screen.
For vehicles, measure light near the driver or passenger position only when safely parked. Never attempt readings while driving. The result can help compare visible light transmission before and after tinting, but it does not replace safe driving conditions or legal tint requirements.
Measure the brightness difference, not just the sunlight
The most meaningful glare question is often how bright the window is compared with the surrounding task area. This requires a luminance meter, which measures the light leaving a surface toward the viewer. It is more specialized than a lux meter, but it is useful for offices, reception areas, control rooms, and high-specification residential spaces.
Take one reading aimed at the bright window area and another aimed at the monitor, wall, desk, or adjacent interior surface. A large difference points to a contrast problem. Exact acceptable ratios depend on the task, viewing angle, workplace standards, and the size of the bright source, so there is no single number that suits every room.
Professional daylight modeling can go further by assessing glare over a full year, taking account of sun paths and building geometry. That level of analysis is worthwhile for new offices, large curtain-wall façades, or projects where workstation layouts are fixed. For an existing villa or office with a clear daily discomfort period, site observations and targeted readings are often enough to recommend a practical next step.
Test the glass, not just the room
When window film is being considered, measure the existing glass before making assumptions about the improvement. The key figures are visible light transmission, visible light reflection, solar energy performance, and glass construction. These values affect both comfort and appearance.
A solar transmission meter can demonstrate how much visible light and solar energy pass through a sample or compatible glazing setup. At Dr SunShield, live meter demonstrations can be useful for comparing film tiers and showing relative transmission. They are not a promise that every room will feel identical after installation. Room orientation, external reflections, interior finishes, and the angle of the sun still matter.
Ask for a recommendation based on the real complaint. If the main issue is monitor glare but the client wants to preserve a bright, open interior, a very dark film may be the wrong answer. A moderate solar-control film can reduce harshness while retaining useful daylight. If privacy and heat are also priorities, the suitable specification may change.
Glass compatibility must also be checked. Some insulated units, laminated panes, coated glass, skylights, and specialty glazing require careful film selection because solar absorption and thermal stress can affect the glass. This is particularly relevant on large villa façades and marine glazing, where access, curvature, frame details, and exposure conditions can influence the installation plan.
Rule out simple fixes before changing the glass
Film is not the only glare-control tool. Move a monitor so that it sits perpendicular to the window rather than directly in front of or behind it. Adjust the screen angle, use matte rather than glossy finishes where possible, and reconsider highly reflective desks or floors.
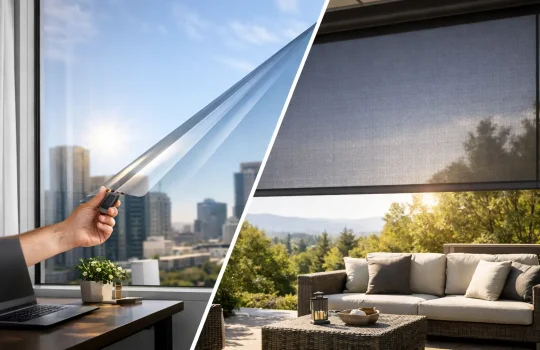
Blinds can provide strong glare relief, especially when direct sun is brief or seasonal. Their trade-off is that occupants must operate them, and fully closed blinds can remove the view and daylight that made the room attractive. Exterior shading can be highly effective but may involve building approvals, wind loading, maintenance, and a larger budget.
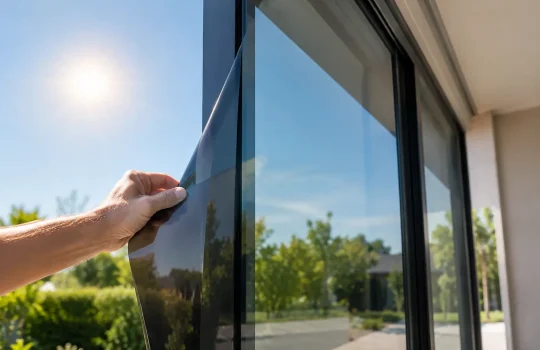
Window film is often most useful where the glare is frequent, the façade cannot be altered, and occupants want a consistent reduction in harsh light without closing the room off. It can also support UV reduction and heat control, but those benefits should be assessed separately rather than assumed from a single glare reading.
Turn your measurements into a clear brief
The best assessment ends with a simple description of the problem: which glazing is involved, when the glare occurs, who is affected, what they are trying to see, and which compromises are acceptable. Include whether you want to retain a clear view, add daytime privacy, reduce heat, protect furnishings, or preserve the glass’s existing appearance.
Bring photos, time-based notes, and meter readings to the consultation if you have them. A careful installer can then inspect the glazing, assess access and site conditions, and recommend a film level that addresses the actual problem rather than automatically selecting the darkest or most expensive option.
The right goal is not a dim room. It is a space where daylight remains useful, screens and views stay comfortable, and the glass works better at the hours when you need it most.
Related Articles



A bright Dubai view can be a real asset until the same window turns a laptop screen into a mirror, washes out a television, or makes a drive uncomfortable at certain hours. Knowing how to measure window glare helps separate a minor positioning issue from a glass-performance problem – and gives you a clearer basis for choosing blinds, window film, or another solution.
Glare is not simply “too much sunlight.” It is excessive brightness within your field of vision, especially when there is a large contrast between a sunlit window and the task in front of you. A room can feel cool enough and still be difficult to work in because daylight is reaching the eye from the wrong direction.
Start by identifying the type of glare
Before using a meter or comparing films, document when and where the discomfort occurs. Direct glare is sunlight shining straight toward the occupant, often through east- or west-facing glass in the morning or late afternoon. Reflected glare is light bouncing from glass towers, water, pale paving, neighboring façades, glossy floors, or a vehicle dashboard.
There is also screen glare. This is common in offices in Business Bay, DIFC, and Dubai Marina, where the window may not look exceptionally bright until a monitor is switched on. The screen reflects the window or the bright sky, forcing the user to tilt their head, close blinds, or increase screen brightness.
For a useful first record, check the space at the times people actually use it. A villa living room may be comfortable at noon yet unpleasant between 3:30 and 5:30 p.m. A yacht cabin may have a different issue depending on its mooring direction and the water reflection. For a vehicle, note whether glare appears through the windshield, side glass, rear glass, or from interior reflections.
Take photos from the seated or driving position, not only while standing by the window. Include the screen, television, work surface, or view that is affected. This gives an installer or property manager more useful information than a general statement that a room is “too sunny.”
How to measure window glare with practical checks
A professional glare assessment considers orientation, glass size, neighboring reflectance, interior finishes, and the occupant’s sightline. You can make a strong initial assessment without specialist software by combining three checks: visual contrast, task visibility, and light readings.
Check visual contrast from the user’s position
Sit where the problem occurs and look at the task, then toward the window. If you must squint, shield your eyes, turn away, or wait for your vision to readjust after looking outside, the contrast is likely too high for that activity.
Pay close attention to bright patches in the field of view. A small, intense reflection can create more discomfort than a whole wall of evenly lit glass. In a home office, for example, the important question is not whether daylight enters the room. It is whether the window, reflected sun, or a glossy surface is visibly competing with the monitor.
This check is subjective, but it matters. Occupant comfort is the reason to address glare in the first place. Record the date, time, weather, blind position, and which lights were on, because conditions can change the result.
Measure illuminance on the task surface
A handheld lux meter measures illuminance – the amount of light falling onto a surface. It does not measure glare directly, but it helps show whether a desk, countertop, or seating area receives unusually high light levels.
Place the meter flat on the work surface at the point where someone reads, writes, or uses a laptop. Take readings with blinds open and, if applicable, with blinds closed. Repeat at different times of day. Then measure a similar point farther from the window for comparison.
A very high desk reading near the glass can support the case for solar-control film, but numbers need context. A bright work surface may be acceptable if the window is outside the worker’s view and the monitor is positioned correctly. Conversely, a moderate reading can still feel uncomfortable when the bright source is directly behind a screen.
For vehicles, measure light near the driver or passenger position only when safely parked. Never attempt readings while driving. The result can help compare visible light transmission before and after tinting, but it does not replace safe driving conditions or legal tint requirements.
Measure the brightness difference, not just the sunlight
The most meaningful glare question is often how bright the window is compared with the surrounding task area. This requires a luminance meter, which measures the light leaving a surface toward the viewer. It is more specialized than a lux meter, but it is useful for offices, reception areas, control rooms, and high-specification residential spaces.
Take one reading aimed at the bright window area and another aimed at the monitor, wall, desk, or adjacent interior surface. A large difference points to a contrast problem. Exact acceptable ratios depend on the task, viewing angle, workplace standards, and the size of the bright source, so there is no single number that suits every room.
Professional daylight modeling can go further by assessing glare over a full year, taking account of sun paths and building geometry. That level of analysis is worthwhile for new offices, large curtain-wall façades, or projects where workstation layouts are fixed. For an existing villa or office with a clear daily discomfort period, site observations and targeted readings are often enough to recommend a practical next step.
Test the glass, not just the room
When window film is being considered, measure the existing glass before making assumptions about the improvement. The key figures are visible light transmission, visible light reflection, solar energy performance, and glass construction. These values affect both comfort and appearance.
A solar transmission meter can demonstrate how much visible light and solar energy pass through a sample or compatible glazing setup. At Dr SunShield, live meter demonstrations can be useful for comparing film tiers and showing relative transmission. They are not a promise that every room will feel identical after installation. Room orientation, external reflections, interior finishes, and the angle of the sun still matter.
Ask for a recommendation based on the real complaint. If the main issue is monitor glare but the client wants to preserve a bright, open interior, a very dark film may be the wrong answer. A moderate solar-control film can reduce harshness while retaining useful daylight. If privacy and heat are also priorities, the suitable specification may change.
Glass compatibility must also be checked. Some insulated units, laminated panes, coated glass, skylights, and specialty glazing require careful film selection because solar absorption and thermal stress can affect the glass. This is particularly relevant on large villa façades and marine glazing, where access, curvature, frame details, and exposure conditions can influence the installation plan.
Rule out simple fixes before changing the glass
Film is not the only glare-control tool. Move a monitor so that it sits perpendicular to the window rather than directly in front of or behind it. Adjust the screen angle, use matte rather than glossy finishes where possible, and reconsider highly reflective desks or floors.
Blinds can provide strong glare relief, especially when direct sun is brief or seasonal. Their trade-off is that occupants must operate them, and fully closed blinds can remove the view and daylight that made the room attractive. Exterior shading can be highly effective but may involve building approvals, wind loading, maintenance, and a larger budget.
Window film is often most useful where the glare is frequent, the façade cannot be altered, and occupants want a consistent reduction in harsh light without closing the room off. It can also support UV reduction and heat control, but those benefits should be assessed separately rather than assumed from a single glare reading.
Turn your measurements into a clear brief
The best assessment ends with a simple description of the problem: which glazing is involved, when the glare occurs, who is affected, what they are trying to see, and which compromises are acceptable. Include whether you want to retain a clear view, add daytime privacy, reduce heat, protect furnishings, or preserve the glass’s existing appearance.
Bring photos, time-based notes, and meter readings to the consultation if you have them. A careful installer can then inspect the glazing, assess access and site conditions, and recommend a film level that addresses the actual problem rather than automatically selecting the darkest or most expensive option.
The right goal is not a dim room. It is a space where daylight remains useful, screens and views stay comfortable, and the glass works better at the hours when you need it most.

