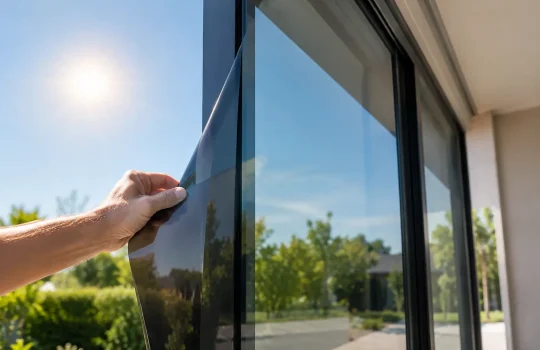
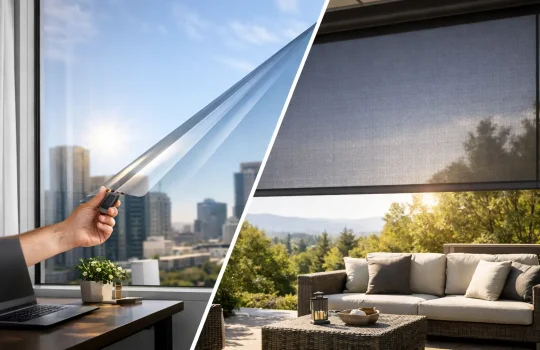
A mobile tint appointment should save you time, not create a compromise in finish quality. In the UAE, heat, dust, direct sun, access restrictions, and the type of glass being treated all affect whether on-site fitting is suitable. This mobile tint installation guide explains what a properly planned visit looks like, from the first assessment through curing and aftercare.
The central question is not simply, “Can an installer come to me?” It is whether the location gives the installer enough control to prepare the surface correctly, position the film accurately, and allow the application to cure without unnecessary contamination. For many vehicles, villas, offices, and yachts, the answer is yes. For others, a workshop or a differently timed appointment may be the more responsible recommendation.
Start With the Problem You Want Tint to Solve
Film selection comes before installation logistics. A car owner dealing with a hot steering wheel and intense cabin heat may prioritize infrared heat rejection and a clear appearance. A villa owner may need glare reduction on a west-facing living room without making the room feel dark. An office may be more concerned with screen visibility, daytime privacy, and maintaining a consistent exterior look.
These priorities can point to different film types and shades. Darker film can increase privacy, but darkness alone does not define heat performance. A high-quality ceramic film can reject significant solar heat while keeping glass relatively clear. For residential and commercial projects, the existing glass specification matters just as much as the film. Some glazing combinations need a more cautious recommendation to manage thermal stress and compatibility.
For automotive customers, requested darkness must also be considered alongside applicable local regulations. A good installer should discuss the intended appearance and comfort goals plainly rather than treating every vehicle as a one-film job.
When Mobile Tint Installation Is Eligible
Mobile installation is most effective when the work area is sheltered, reasonably clean, accessible, and large enough for the installer to work without rushing. A covered private parking space, enclosed garage, shaded villa driveway, building loading area, or approved office parking facility can all work well.
The conditions matter because tint film is applied to meticulously cleaned glass. Dust in the air, strong wind, active construction nearby, or repeated foot traffic around open doors can increase the risk of contamination. Film installation is careful work, not a quick add-on service that can be completed well in any setting.
For buildings, access is often the deciding factor. Ground-floor windows and accessible internal glass are usually straightforward. High-level exterior glazing, restricted facades, windows behind fixed furniture, and glass requiring specialist access equipment need to be assessed before a mobile visit is confirmed. The same principle applies to yachts: berth access, vessel movement, glazing shape, interior working space, and marine-glass construction all affect the plan.
A mobile appointment may need to be moved if rain, high winds, extreme dust, or an unsuitable work area would put the finish at risk. That is not inconvenience for its own sake. It is part of protecting the quality of the installation.
Mobile Tint Installation Guide: What to Prepare
Before the installer arrives, confirm the exact location, access instructions, and available parking or working space. If the site is within a managed community, office tower, marina, or secure property, arrange any approvals in advance. Delays at security or limits on where a vehicle can be parked can reduce the available installation window.
For automotive tinting, remove personal belongings that block access to door panels, rear glass, or the dashboard area. Child seats, loose items in the trunk, and valuables should be cleared where practical. The installer will still protect surrounding surfaces, but an uncluttered vehicle makes preparation more efficient.
For home and office projects, clear windowsills and move delicate furnishings away from the glass. Curtains, blinds, artwork, and electronic equipment near the installation area should be identified during the consultation. Some items may only need covering; others may need temporary relocation to allow the film to be applied cleanly.
It also helps to let the installer know about any existing issues before the visit. These include cracked glass, failed double-glazing seals, scratches, old film, silicone close to the glass edge, aftermarket defroster repairs, or previous adhesive residue. Film does not hide every glass defect, and applying it over a compromised surface may not be appropriate.
What Happens During a Professional Visit
A proper on-site installation begins with confirming the scope of work and inspecting the glass. The installer checks that the selected film matches the agreed objective, reviews visible surface conditions, and verifies that access is as expected. If the job has changed significantly from the original assessment, it is better to address that before cutting or applying film.
The glass is then cleaned in detail. This process removes surface dirt, oils, residues, and fine particles that could affect adhesion or create visible imperfections. Frames, seals, and edges receive attention because debris around the perimeter can move onto the glass during application.
The film is measured and shaped for each pane or vehicle window. On automotive glass, curved rear windows and tight window edges demand particular care. On architectural glass, large panes, edge details, mullions, and existing blinds or fittings influence the installation sequence.
The installer applies the film using a controlled solution, aligns it, and uses professional tools to remove excess water and secure the adhesive. Small amounts of moisture, light haze, or tiny water pockets can be normal during the early curing period. They should not be confused with dust contamination, creases, or edge lifting.
Where applicable, Dr SunShield can demonstrate solar transmission readings with an EDTM SP2065 meter. This offers a useful comparison between glass and film combinations, especially when evaluating heat and light transmission. It is a practical demonstration, not a promise that every cabin, room, or facade will feel identical. Orientation, insulation, air conditioning, glass area, roof exposure, and interior layout all influence real-world comfort.
Choosing the Right Performance Tier
For vehicle tint, it is useful to compare tiers by the result you are trying to achieve rather than by shade alone. A customer who spends short periods commuting may be well served by a practical ceramic option. Someone regularly parked outdoors or driving long distances across Dubai, Abu Dhabi, or the northern emirates may place more value on stronger infrared heat rejection.
Dr SunShield’s ceramic lineup is structured around that choice. DS-ONE provides an accessible ceramic option with a three-year warranty. DS-PRO increases performance and carries a six-year warranty. DS-MAX is intended for customers seeking the strongest level of infrared heat rejection in the range, with a ten-year warranty. The most expensive tier is not automatically the right one. The better choice depends on driving habits, parking conditions, desired visibility, and budget.
For homes and commercial spaces, a recommendation should also account for façade orientation and glass construction. A film that is appropriate for a shaded internal partition may not be the right answer for an exposed, large-format exterior pane. Privacy, solar control, safety retention, and switchable Smart Film each solve different problems, even when they are all described casually as “tint.”
Curing, Cleaning, and Aftercare
Once installed, film needs time to cure. In UAE conditions, curing times vary with weather, glass type, and how much moisture remains beneath the film. Automotive windows should not be rolled down until the installer’s recommended waiting period has passed. For architectural film, avoid pressing on edges or placing blinds tightly against the glass while the film settles.
Do not clean newly installed film immediately. After the advised curing period, use a soft microfiber cloth and a film-safe cleaner. Avoid abrasive pads, blades, harsh powders, and cleaners containing aggressive chemicals. These can damage the film surface or affect the edges over time.
Inspect the installation in normal daylight after curing, not only under a phone flashlight or from an extreme angle. Glass itself can contain distortion, scratches, seeds, or marks that were present before film application. A transparent installer will explain what can reasonably be corrected and what belongs to the original glass condition.
A Better Mobile Appointment Starts With Honest Assessment
The best mobile tint installation is not defined by how quickly the installer arrives. It is defined by whether the film, glass, environment, and working conditions have been matched properly. Share clear photos, describe the heat, glare, privacy, or safety issue you are experiencing, and be open about access limitations. That gives the installer the information needed to recommend a film and appointment plan that will hold up after the visit is over.